
Well, it's another nasty day in Indiana. So, I got a delivery today that motivated me to complete a project down in the basement. I'm going to be focusing on the home wine lounge.
So, I built this house back in 2018. I did not finish the basement at the time. I planned on finishing it shortly afterwards. And 3 years later, I finally got around to it in 2021.
Materials
- 3x6 timber of straight solid hickory, about a 12 ft stick (from our property, milled)
- Mantel brackets from Amazon, supposed to hold 250 lbs (two used)
- Deck screws with washers (my own, not the hardware that came with the brackets)
- Drywall anchors ("I think they're Toggler"), hold up to 65 lbs, about 50 in a pack, from Lowe's
- Panoramic photo on canvas from Costco.com, about $90
- Spray bottle of water
Tools
- Carbide tipped tile drill bit, 3/8 in or 1/2 in, from Lowe's or Depot
- Drill
- Tape measure
- Saw to cut the mantel to length and cut the bracket groove
The Fireplace
I'm focusing on the fireplace in the basement. It's a tile fireplace. It's ventless. It's an electric fireplace that plugs into the wall, no fumes or gas. I've had pretty good luck with it. It's pretty neat.
Step 1: Cut the Hickory Mantel to Length
So, what I'm doing first is I'm starting a mantel. This piece of wood actually came from our property. I had it milled along with all the other wood and it's a 3x6 timber of straight solid hickory. Pretty dense stuff. Had a stick of it in the garage forever, a 12 ft stick. So, I figured why not use it for this.
I've cut it to length after I measured the fireplace. I think I left about four to 6 in on each side of reveal so the mantel doesn't completely cover edge to edge.
Step 2: Cut the Groove for the Brackets
And what I'm doing right now is basically cutting a groove in for the little mounts I'm going to be using that's required to make the mantel actually sit flush up against the tile.
So, these little brackets I bought from Amazon. They're supposed to hold 250 lbs. I'm not sure if that's all combined. And there was four in a pack or them individually, but at first I thought about putting three on there, but I've kind of leaned towards just putting two. I think it should be plenty. Although that mantel does weigh a ton, I still think two will be plenty.
Step 3: Find the Studs
The most important thing here is to make sure that I hit studs. If I don't hit a stud, I've got some problems. It's just too much weight. So, luckily, I was able to get in behind the firebox in the utility room and see where those studs were at, and I was able to measure off the fireplace.
Step 4: Drill Through the Tile
So, I really hate drilling into tile. It always makes me nervous. You crack a tile, it's a lot of work to fix that. But it went pretty well. I end up drilling these four holes plus an additional two for the picture I'm getting ready to hang up above the mantel.
The drill bit I had to use to get through that tile is a carbide tipped tile drill bit. Get those at Lowe's or Depot. They're a little bit expensive and they don't last very long, but you need something other than a regular drill bit to get through that tile without cracking it.
Step 5: Mount the Brackets
Now, I've installed the brackets here. I'm using a deck screw with a washer, be honest with you. Nothing crazy. It came with some hardware. I didn't like it, so I just used my own. The important thing there was I was actually into the stud and I landed those screws about 2 and 1/2 inches into the stud.
Step 6: Lay Out the Picture Above the Mantel
Now I moved on to the second part of this project since the mounts are up. I'm getting ready to put the picture up above the mantel.
So basically what I do here is I just find center, which is about 31 in on this particular project. And I know the brackets on the back of the picture are about 36 in. So 3 ft apart. So I simply just measure 18 in off center both ways to find the holes to match the hanging brackets on the picture.
And I've already measured the distance from the mantel and the distance from the ceiling to the picture. That will pretty much put the picture dead center in the area above the mantel to the ceiling, and then also left to right.
It's extremely important to double check those measurements. And that's what you see me doing here. Just making sure I have 36 in in between the holes. And then I just double check and measure the sides to the holes on both sides to make sure that my brackets are at least in the zip code to make this picture center.
Step 7: Drill the Picture Holes With Water
Now I've got two more holes to drill here. You can also see I'm using a spray bottle of water to drill these holes. One, it helps keep the dust down and it also keeps that drill bit cool, which will extend the life of it.
Now, the drill bit is on its last leg as it is. So, I thought it was important to add the water. After this project, I'll probably just throw it away and go get another one. They come in like a three pack. I think that was a 3/8 in or 1/2 in drill bit.
But as much as I hate drilling through tile, it actually went pretty smooth. And I was actually somewhat impressed. Maybe I'm not so scared to do that anymore.
Step 8: Anchors for the Picture
So, all the drilling's done. I'm going to go get some anchors that I have in the utility room. I think they're Toggler drywall anchors. I buy these at Lowe's. Got quite a few. I use them for any kind of hanging project. I think they hold up to 65 lbs. I'll put a link in the description, but there's like 50 in a pack. They're self-tapping normally into the drywall, but because I was in the hard surface of the tile, obviously I had to drill that hole first.
Now, when I mounted the picture, it's slightly different than the mantel for the fact the mantel I could put the brackets where I wanted and then adjusted the mantel to fit the brackets, which the brackets were to the studs. Now, with this picture, I had 36 in in between. So, there was a good chance I wasn't going to hit any studs, and I didn't.
So what I have to do here is use anchors to hold the picture up, because it's essentially through tile, through concrete board, which is pretty firm, much more firm than like drywall. But it still requires an anchor to make sure that that picture stays up there.
Step 9: Slide On the Mantel
So, here we go. The mantel slid onto the brackets as expected. It's a pretty firm, tight fit against the tile fireplace.
Step 10: Hang the Picture
And then the final piece of the project is this picture. So, the story behind the picture, my wife and I went back and forth on what to put above the mantel. We went to Napa Valley two years ago, right before COVID really took place. And we went to a winery there called the Castello di Amorosa. And I took this picture with my iPhone out one of the sides of this castle. It was actually a winery and it's a gorgeous picture.
So, I got on Costco.com. I uploaded the picture and selected a panoramic photo on canvas and I think it was like $90 and it turned out phenomenal. Really great looking. Pretty happy with the selection and so is the wife.
I'm no decorator and I'm sure my wife will come along and change this up a little bit. But this bottle I'm putting on the mantel to the right, that bottle of wine is from where I took the picture from. So pretty cool.
Final Cost
- Hickory mantel: from our property, milled along with all the other wood
- Mantel brackets from Amazon: $19.99
- Tile drill bit: about $8.99
- Anchors: about $1 (from a pack)
- Panoramic photo on canvas from Costco.com: about $90
- Total: about $120 all in
What's Next
Well, that's a wrap for the wine lounge and this video. If you have any questions or comments, leave them down below. My next video will be the wine lounge start to finish, including all the details on everything I did, why I did it.
More from HomePro Hero
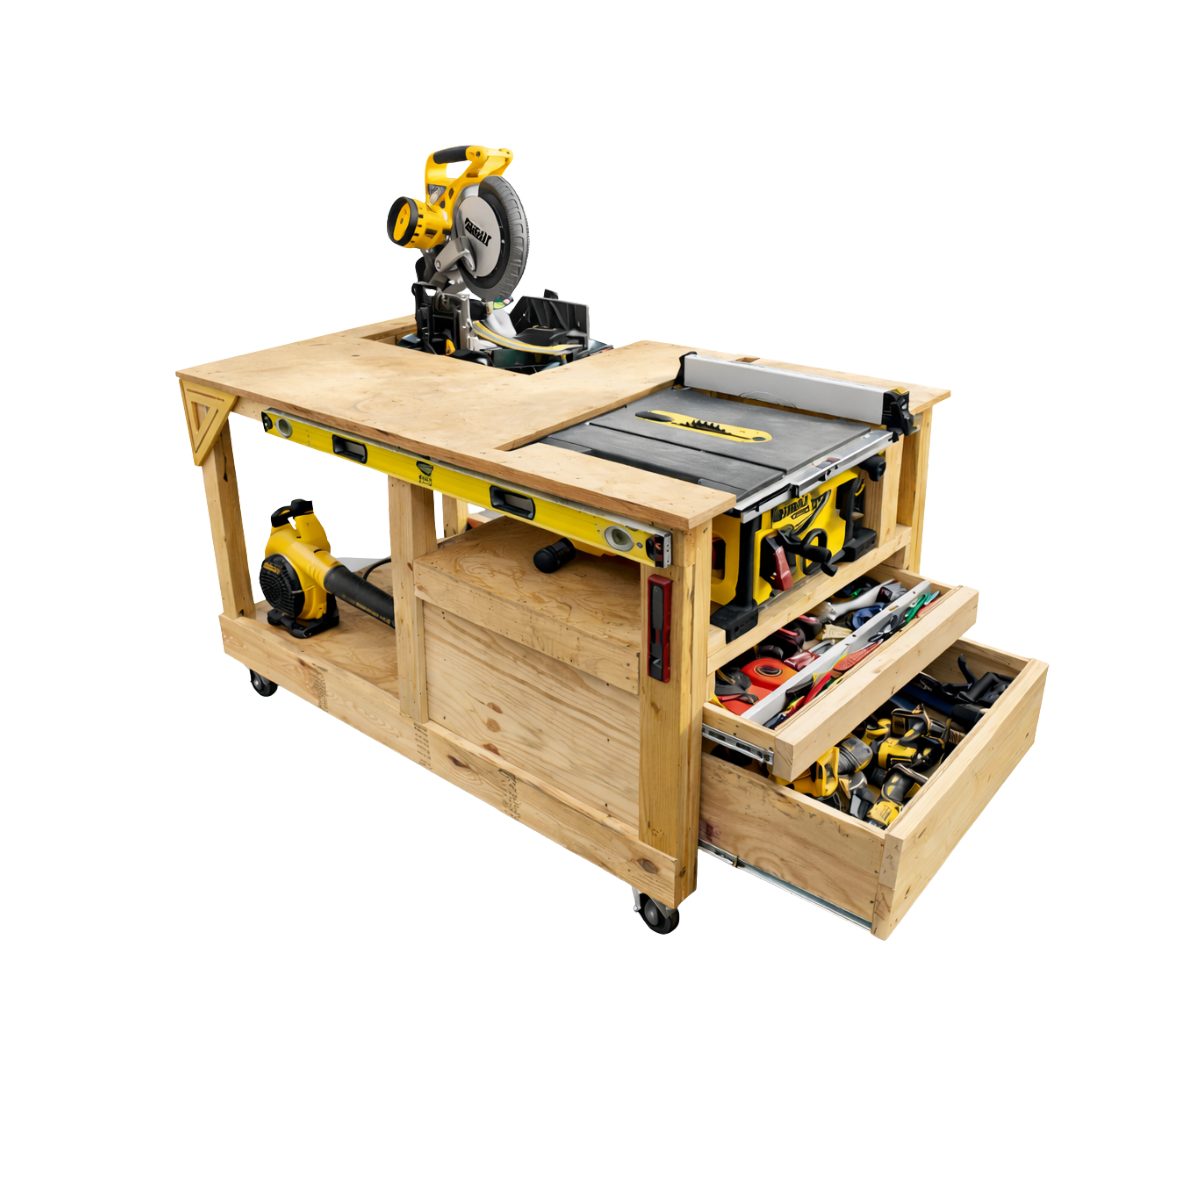
Ultimate Workshop Table Plans
The same mobile workbench from "Build This Workbench for UNDER $200," watched over a million times.