
This is a pretty easy demo for the most part. It's mainly cosmetic. There's no structure changes at all. All I'm simply going to do is modify some of the cabinetry and then build some additional cabinetry. So the demo is very, very minimum and I have very little work involved here. I have no electrical work to do. I've got a little bit of plumbing work we'll talk about here in a minute, but for the most part it's just trim, which is probably my favorite thing to do.
Removing the Baseboards for Wainscoting
Now, what you see me doing here is basically I need to remove all the baseboards. I'm going to put some wainscoting up all the way around this room, so I need to remove the baseboards so I can include that in the new wainscoting that's going to go in the wall.
These are pine 1x6, which is technically the width of 5.5 in. It's good quality stuff. Pine's a good trim. It's not as expensive as poplar and it's not as cheap as MDF. It's kind of in the middle. And it's not the hardest wood in the world, but it doesn't chip. It doesn't swell up to moisture like MDF. And I think it looks really, really good. It's technically, you know, wood. So it's still the same thing as poplar in my opinion. It's what I always use, to be honest with you. It's easy to work with.
Saving the Trim Boards
So what I'm doing here is I've removed most of the baseboards. I'm cutting the nails off or bending the nails off of the boards. That way, like I said earlier, I can reuse these boards. I also have to peel the caulk off.
Scoring the Drywall So It Doesn't Tear
And you saw me earlier with the utility knife. I score the drywall right above the trim work for the fact that I don't want it tearing my drywall. It's a lot of work when you start tearing drywall. I don't want to be involved with too much mud work on the walls if I don't have to.
Disconnecting and Removing the Sink
So here's my sink. Don't like the location of the sink, and I forgot about how we plumbed this, but originally the sink was supposed to be in the corner. We made that change and kicked it to the left there. I'm probably going to go ahead and change it now and put it in a different location, just for the fact that these pipes, the drainage pipe and the water pipes, are in the corner, which gives me the ability to put the sink in a different location.
What I have to do right now is I want to remove this countertop. I'm going to keep the cabinetry down below. So I'm basically disconnecting the water and the drain from the sink.
Liquid Nails vs Silicone on a Sink
It's funny, when I started taking the sink apart I noticed that the adhesive I used to keep the sink to the countertop obviously didn't work. Not a big deal. And it's not like it was leaking or anything. And honestly, we barely even used the sink, but for the most part, I was kind of shocked that it didn't stick. I think I used Liquid Nails on it. Sometimes I use silicone, which is probably the best thing for it, but I used Liquid Nails because, if I remember right, it's all I had at the time. You can see how easily it just popped off.
Plumbing With PEX
Not a big fan of plumbing. I've gotten better at it. I hate doing it, to be honest with you. But I understand it, and with PEX things have gotten a lot easier. Back in the day when you had copper and you had the sweat fittings and stuff like that, it was probably out of my ballpark at the time. But with PEX, all you got to do is have the tools and the pieces, and it's pretty much a, you know, do-it-yourselfer type thing, especially a small move like this.
Taking the Countertop Off
So now the fun begins. I have to take this countertop off. I really don't have a use for it at this point. It's Formica. It's a 3D Formica. It's pretty neat, it's got a textured top. I'm going to try and save some of it. I know I could probably use it in the basement, possibly. So I'm going to try and make sure I can use parts of it at least.
This piece of metal I'm taking off. The countertop people required me to put that there since the span between the two cabinets was so far. I needed to support the center a little bit more. So they installed that, and really I didn't notice it much, but I just hated the idea that it was there.
Cutting the Countertop in Half
So I tried to lift this countertop up. It's pretty tight in there. I remember they pretty much formed it to the exact specs of the room, so I knew it was going to be tight getting out of there. I don't have an application where I'm going to need an L. So I think the best solution here was just go ahead and use the saw and let's cut this thing in half, make it manageable. It is fairly heavy, so by cutting it in half I'll cut down some of that weight.
Why I Use DeWalt Tools
Now, you notice that I use DeWalt tools. Pretty much all my tools are DeWalts. I've got no preference of tools. I started with DeWalt a long time ago. I've got their batteries and I've just kind of stuck with that platform. I think there's a lot of other good manufacturers out there, like Milwaukee and Makita, but DeWalt has always been good. It seems like my tools have always lasted. And you're pretty much going to only see me use DeWalt tools.
Plug the Drain Pipe and Wrap Up
So I got this countertop off. Everything came off pretty good. I didn't tear the drywall up too bad. And of course, when you disconnect the sink, you need to make sure you plug up that pipe. You don't want the sewer smell.
And that pretty much wrapped up the demo. Not a whole lot to it. Pretty short video. The demo was easy and quick. Took me about 2 hours, 3 hours.
What's Next
I'm going to clean up this room and then start planning for the next step, which is going to be my design. We're going to build a cabinet, do some wainscoting, add some additional cabinetry to the bases, and it should be a lot of fun.
And once again, I appreciate you spending time with the HomePro Hero.
Materials
- Pine 1x6 baseboards (5.5 in wide), pulled and saved to reuse
- PEX pipe and fittings for the small sink move
- A plug for the open drain pipe after the sink comes off
- Silicone for setting a sink next time (John says it is probably the best thing for it; he had used Liquid Nails)
Tools
- Utility knife (to score the drywall above the trim)
- DeWalt FlexVolt circular saw (cutting the countertop in half)
- PEX tools
- DeWalt battery tools
Time and Cost
- Time: about 2 to 3 hours for the demo (his words: "about 2 hours, 3 hours").
- Cost: no cost said in this part. Final cost for the whole laundry room makeover, from the Part 7 reveal: $1,490.
The Rest of the Laundry Room Series
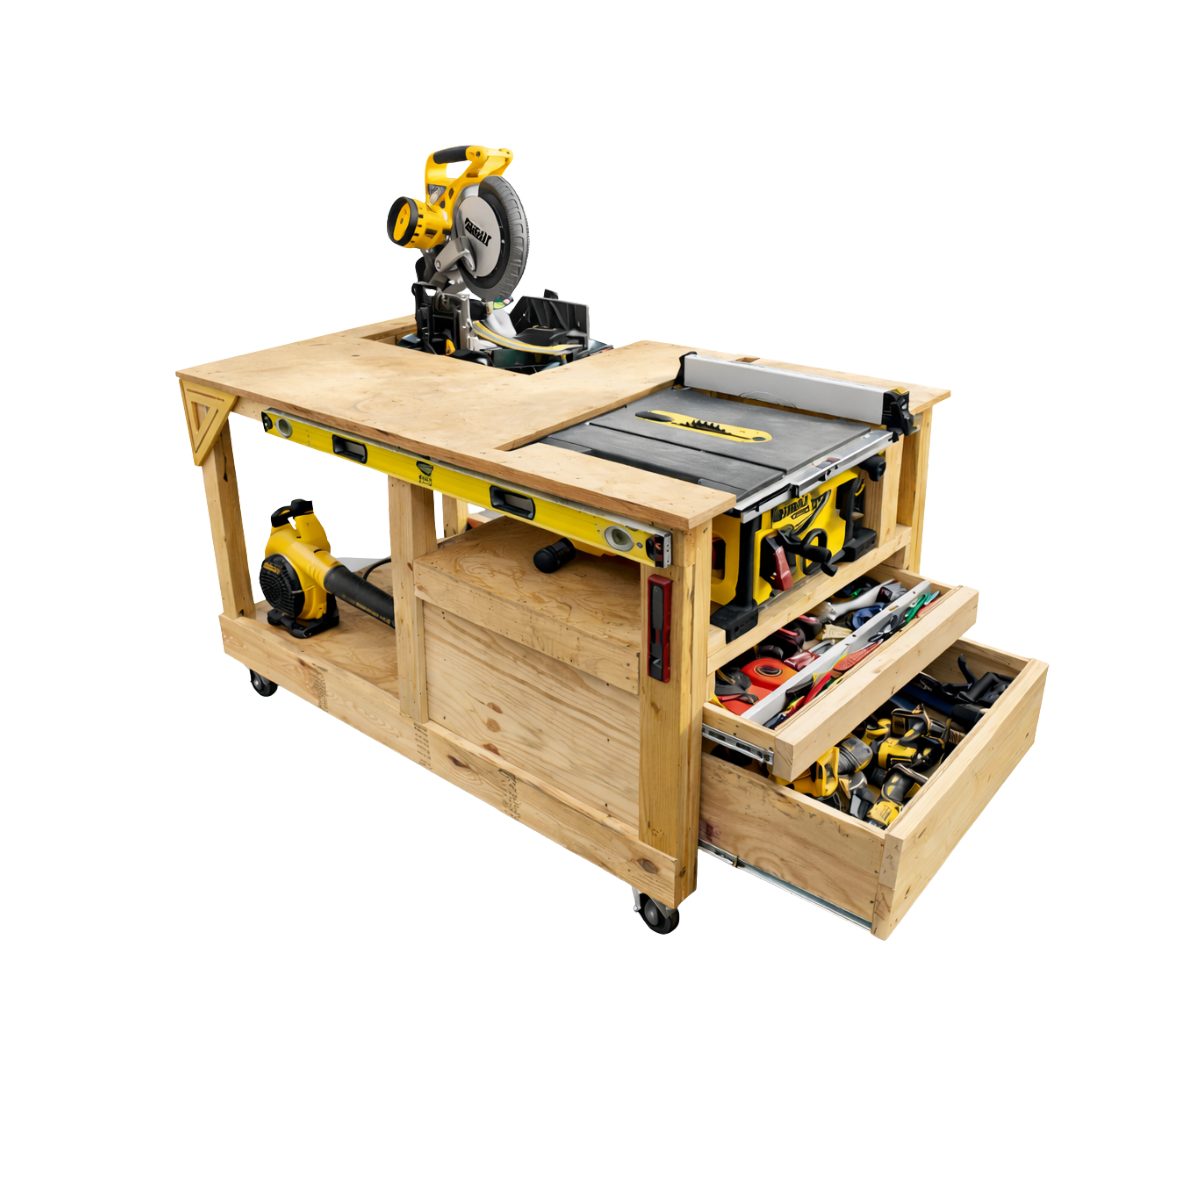
Ultimate Workshop Table Plans
The same mobile workbench from "Build This Workbench for UNDER $200," watched over a million times.