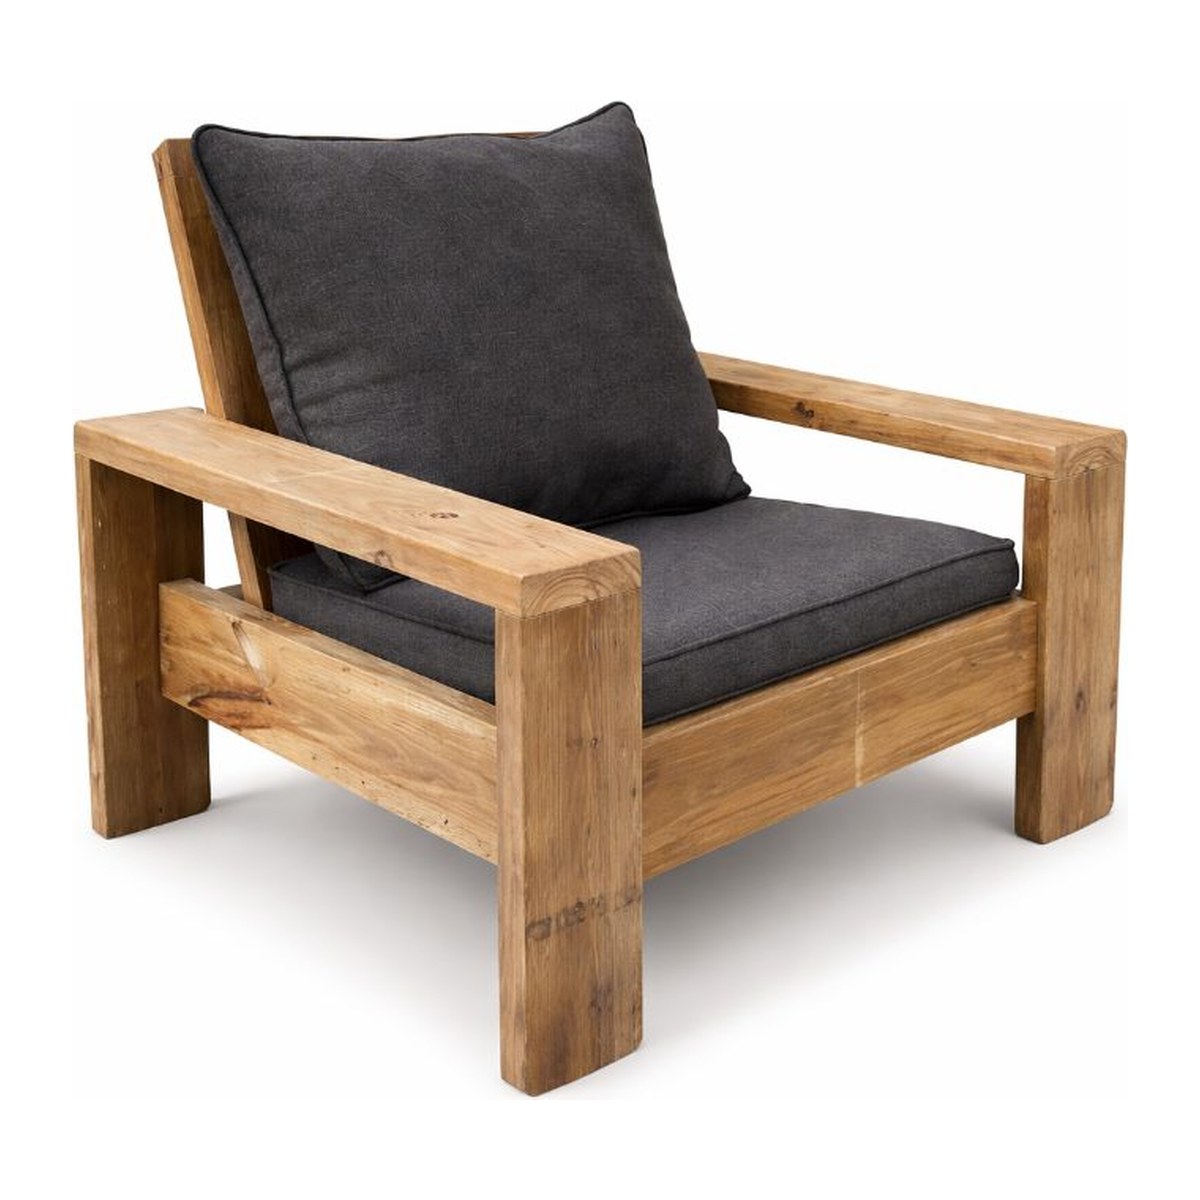
Out with the old and in with the custom solution.
So what makes this chair different than any other chair on the internet? It's real simple. I've modified the arms and the legs to be bigger and bulkier. I like big, strong things. I'm using 2x6s to get this done.
Plans for this exact chair: Outdoor Chair plans
Tools
- Miter saw, or a circular saw and a speed square
- Compact driver or drill
- Tape measure and a pencil
- Caulk gun
- Pocket screw jig (optional, see Step 5)
Materials
- 3 2x6 boards, 8 ft (preferably pressure treated for outdoor use)
- 2 2x4 boards, 8 ft
- 1 2x2 board, 8 ft (can be ripped out of an additional 2x4)
- Standard Liquid Nails (adhesive)
- GRK trim head screws, 2-1/2 inch, #8. Same screws I've used for all the other furniture I've built. They come with the drill bit and everything, so you're good to go if you just buy the box.
- Sandpaper
- Outdoor cushions
Step 1: Legs and armrests
Let's cut four legs out of 2x6. I cut mine at twenty three and three quarters each. (Read Step 4 before you cut. I took about four inches off mine, and the plans have the final length.)
We need two armrests, 2x6 material. We're going to do 33 and 3/8 inches.
Step 2: Seat stringers
Here's one of the big differences with the chair I'm building today. I'm using 2x6s for not only the legs, but also the stringers that hold the seat cushion. Most people use a 2x4 there, but I like the bulkiness of a 2x6.
The bottom is going to come in about 10 and a quarter, and the bottom of this one's going to come in about 13 and a quarter. Really look for the angles to line up. That's what you're looking for. Put some glue on it and screw it.
We've got two identical legs. Big and bulky. I like the way they look.
Step 3: Seat slats
Cut the filler pieces for the seat. The seat slats need to be about the width of the pad and the depth too. My seat cushion's 24 wide, 23 deep, so those are 24 inch 2x4s. Pretty simple.
I moved to the concrete floor. That table's got a little bit of a warp in the middle, so I'm going to make sure this thing's sitting straight across there.
Step 4: The mistake: legs too long
I made a small mistake that can be fixed. My legs are a little too long, because I didn't take into account that I was going with a thicker material here, so the cushion sits down in here. It fits me like a champ, but it sits pretty tall. I made those legs a little longer than I really thought I needed, at least according to Google.
I ended up taking about four inches off the leg. I think I overbuilt it like two inches, three inches anyway, and then I went up higher anyway. So I think it's going to fit everybody now. It still looks perfectly fine from the side too. It's not too low. Still a big chair.
Step 5: The back brace (the hardest part)
Now the hardest part. We've got to put this piece in here. It's the hardest part because of the way you have to fasten it. You could get brackets, and I may end up doing that anyway just to beef it up a little bit. But there's really nowhere you can come in from the sides to get it.
This has to be pretty strong, because you've got people's backs there. If there's a weak spot in this chair, it's going to be this, because people are going to be thrusting back a lot. So I'm going to use pocket screws. If I didn't have a pocket screw jig, I'd just put angles underneath it and drill two screws on each side using deck screws. And then I'm going to Liquid Nails it too.
You can get a cheaper jig than this one. I use this for all my wainscoting and cabinet making. You can get one as cheap as 22 dollars. It bores those holes and then allows me to come in at an angle.
That was a difficult piece to get in there, because those screws naturally want the board to come up. I tried to keep a lot of pressure on the upper part. Especially when that Liquid Nails sets, it should be really good.
Step 6: Back slats
I've got extra scrap 2x2, so I can screw in from the top into the 2x4s and get them all nice and straight back there. Then I'll use Liquid Nails to make up the difference in the back. You can see this one's out a little bit more, and this one's tight and that one's tight, so I'll put more Liquid Nails in those two to push it all forward a little bit. I think it's about a six or seven degree angle there.
The cushions
I built the chair knowing the specs online, but you never know. I got these on Amazon. Good quality. I'm actually impressed with the quality. We'll see how they last. I'll probably take them in in the wintertime.
I'm going to be honest with you, that was not the easiest project in the world. But with that said, I love it. Everything about it. It's fat, it's low, it's comfortable, looks great. Can't beat it.
What it cost
The wood, screws and nails came in at about $58, plus the two cushions from Amazon.
The most difficult part was that five degree angle at the bottom, getting that to fit in there, and making sure my two legs were the same distance as my top armrest. That's what's critical. Now I have those measurements, and the plans will help you cheat to get it done right.