
We're building outdoor furniture again. All we're doing today is building the lounger. The lounger is going to be built exactly like the couch and the chair I built last year.
Plans for this exact lounger: Lounger plans
Tools
- Tape measure
- Compact chop saw, or a circular saw if you don't have one
- Drill or driver
- Square
- Caulk gun
Materials
The lumber package is easy too.
- 9 2x6x8 boards
- 2 2x2x8 boards
- It's all Cedar Tone. I buy it from Menards. It's basically a green treat, but it's just brown in color.
- 2 boxes of screws: 2-1/2 inch deck screws and 2-1/2 inch trim screws
- 3 4-inch black hinges (regular door hinges)
- And of course my trusty friend, Liquid Nails
The cut list
I determined exactly what I needed for this project by my design in SketchUp. Then I used ChatGPT to optimize my cut list, so I have the least amount of waste possible. I've got different cuts out of each board. I'm going to follow that list and make all the cuts at once, and then we'll assemble the chair.
Step 1: The frame
The stringer board is 74.5 inches. We're going to cut it in half.
I'm going to use Liquid Nails on all joints, just to make this thing nice and hard. Just enough to keep it a little tighter than just having screws alone.
I'm using these 2-1/2 inch trim head screws. Trim heads have smaller heads than deck screws. I'll use deck screws inside the lounger, but on the outside I use the trim screws, just because they've got a smaller head.
Step 2: Stringers and slats
The stringer boards are the boards that will actually hold the slats, so the mattress pad can sit on top. I attach the stringers using screws and Liquid Nails.
No space under the stringers. Right straight on the ground. That's going to give you the inch and a half on top of the stringers, plus a little bit of reveal. So the pad sits down in there. I don't want my pad blowing away in a windstorm, so I want that thing sunk in there. I think it'll look better too.
I did the math for you already. We basically have to put an inch and three quarters in between each 2x6 board. You can put six slats in between at one and three quarters. Liquid Nails, and I'll use regular deck screws for this, because the screws won't be seen underneath the pad.
Step 3: Legs and arms
The legs are a little complicated cut, nothing major though. People put notches on both sides. All you've got to do is use an existing 2x8. I use a black marker. It's easy to see those lines.
The arms are pretty simple. Two legs, both 12 inches tall. All I need to do is put some Liquid Nails on top, and then put three, maybe four screws in the top.
The thing you've got to worry about at the back is making sure you're nice and tight against the backboard. Make sure this part isn't overhanging into the frame area. You want this to be flush. Then make sure the back is square. Same process on the front leg: use a square and bring it up until it's nice and tight.
Step 4: The backrest
We're on the home stretch now. I'm using 2x2 Cedar Tone for the back frame, and then I'm using the regular 2x6 slats that I used on the bottom part of the chair. The only difference: I cut them a half inch short, so I'm about 25 and a half on the backrest. The reason why I did that is so when I raise and lower the backrest, it fits in the groove nice and snug, but not too snug.
The back frame is about 23 wide, about 30 long. My pad's 80 inches long, so the front part of the chair is 50 inches and the back part of the chair is 30 inches, for a total of 80 inches. It all depends on the size of your pad.
The big thing to keep in mind here is to make sure you have the room for the 2x6 jack stud that holds up the backrest. It's about five and a half inches, so those middle 2x2s have to be pretty close. I think I ran them about six inches.
Step 5: Hinges, back stud and brace
I've got three of these four inch black hinges. Regular door hinges, no big deal. I just butt the upper part and the bottom part together and apply the hinges.
The back stud is not tricky at all. I just centered it. That 2x6 stud is level with the bottom of the backboard. Then I add a brace to keep that backboard from having too much stress when it's not in use. It doesn't have to be anything special. You'll never see it once the chair is upright.
A quick little trim piece across the back, using Liquid Nails and the regular trim head screws I used for the rest of the project, finishes out the space real nice and neat.
The armrests
I decided to go with the armrests on the lounger because of my community poll. The majority of the people that voted wanted the armrests. They should work great for drinks.
The finished lounger
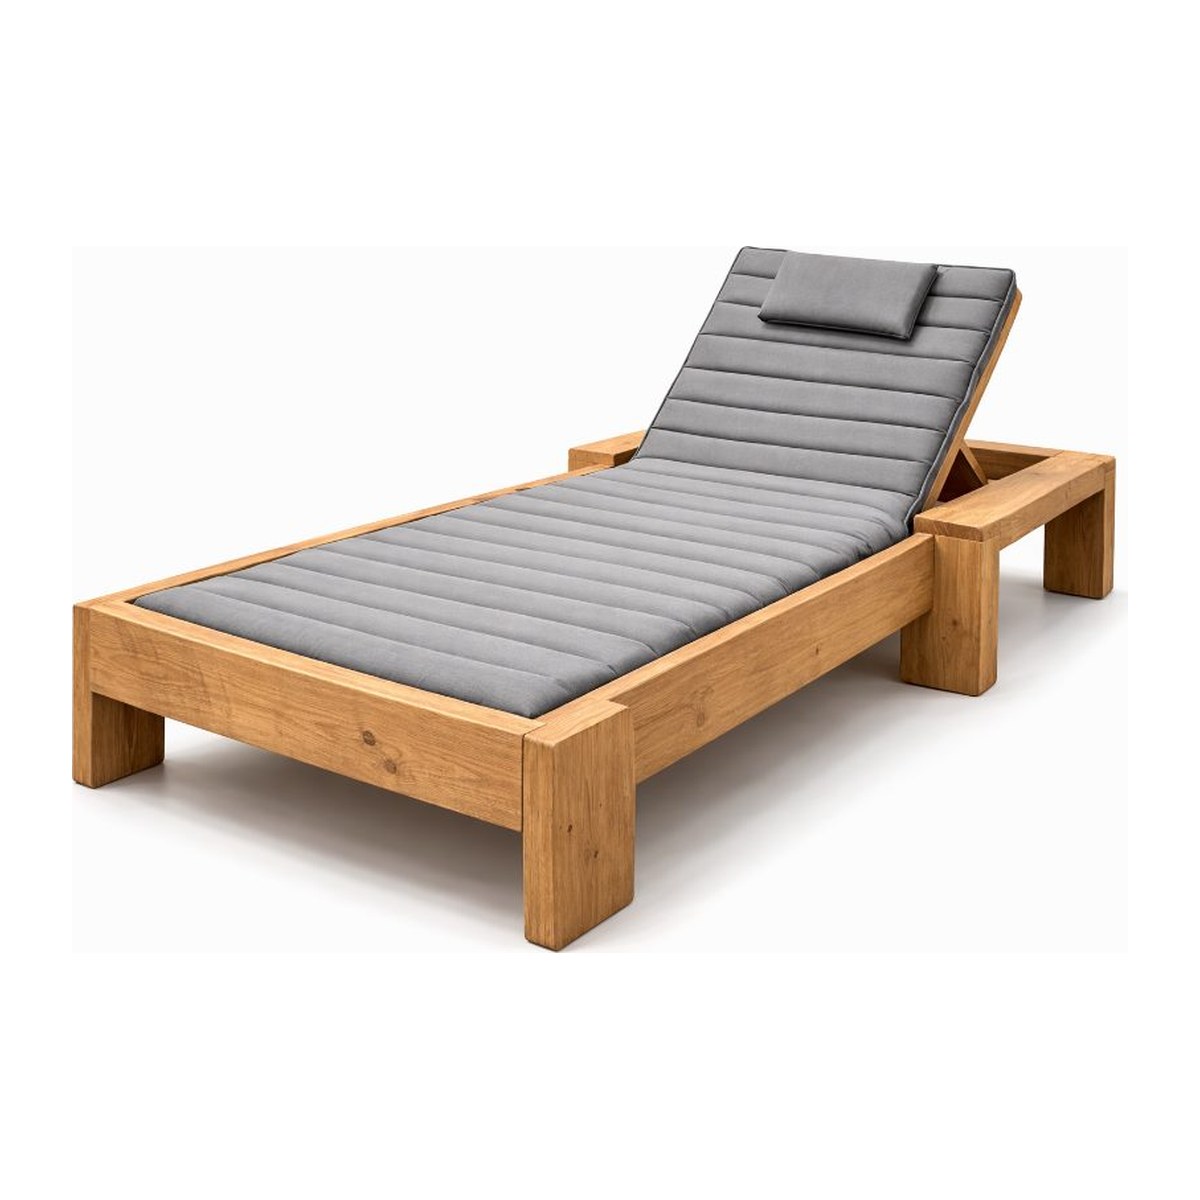
Just like that, you've got a lounger chair that's going to match the furniture you already built. It's a super simple design and easy to build. The lounger is roughly three foot by seven foot, designed to fit a 26 inch by 80 inch pad. The backrest has three different positions, but more can be added if you want.
Time and cost: about six hours, just over $200
So what do I have in it? It took me about six hours over a few days. I'm all in for just over 200. But you can definitely go cheaper by not adding the armrests, or possibly going 2x4 construction instead of 2x6. But I love the big, bulky look of the 2x6s, plus it matches my other furniture.
Get the plans
The rest of the outdoor set
Lounger Plans
A 3x7 cedar-tone lounger that fits a standard 26x80 pad, with an adjustable backrest.