
Doors and windows on my DIY pole barn. Today we're installing the garage doors, the man door, and then we'll finish out the building with the windows.
What I hired out and what I did
I called the pros in to do the garage doors. That's one thing you want to subcontract out. There are certain things you spend the money on, and this is one.
The man door I bought from one of the big box stores; the others didn't have this particular door in the size I needed. 32 inches wide, standard height, totally fiberglass and unfinished. All it needs is a coat of paint, and most importantly it matches the doors on my existing house.
These windows will save you a ton of money, about a quarter of the price of traditional windows. I've used them in my screened in porch for the last five years, no problems at all, and we love them.
The garage doors
- Back door: 6 by 6, no windows. No one's going to see it besides us. Fully insulated, no garage door opener.
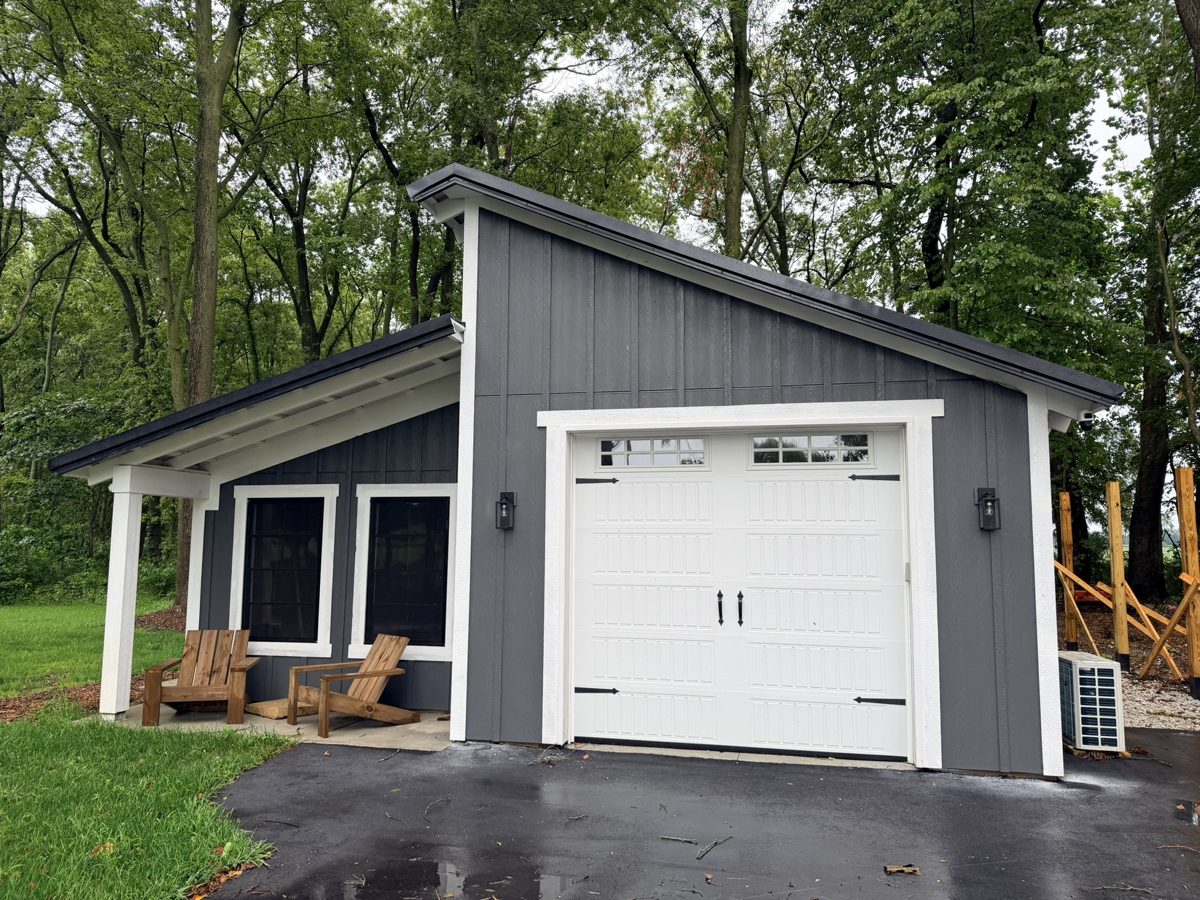
- Front door: 9 by 9, fully insulated, glass panels on the top, just like my house.
All they did was install the tracks on both sides of the door, level and plumb. They added one panel at a time. Once it was in place, they added the wheels all the way to the top. Then they installed the rest of the track, the horizontal part toward the ceiling. Open it, make some adjustments, and add the outside weather stripping.
The garage door opener
In the barn I went with the LiftMaster myQ side mount garage door opener. That means no chain, no belts, and everything tucked nice and neat to the side. It's super quiet. It's Wi-Fi, it has an app, an exterior keypad, car remotes and the push button inside. It has a digital display. As the garage door shuts, the deadbolt locks.
The most important feature: it's got a battery backup. So when the power's out, you can still open and close your garage door whenever you want. Bad side, 300 bucks more. But for what you're getting, I think it's well worth it.
Step 1: Install the windows
Does it look like a window? Sure does, doesn't it? The difference is, vinyl, not glass. Super easy to install. We're using 100% silicone.
- Put a bead of silicone on the lip, all the way around.
- Set the window in the opening.
- Self-tapping screws through the metal. I put six per side. Don't over-torque them, just enough to tighten them down.
- Where the metal meets the wood, put a thin layer of silicone and spread it in with your fingertips. Top, bottom and both sides.
- Come back and hit the outside with more silicone. Not necessarily needed, but it's something I did on the back porch and it worked out great.
We don't really have to check for level. We already know our sills and openings are level, so as long as the panels are square when you install them, the chances of being off are about none. These things are super light too, which is what makes them really nice. I can't imagine doing full-pane glass by myself.
When it comes to efficiency, they're pretty decent. I installed the mini split in my porch with these types of windows, and the mini split has had no problem keeping that area cool.
Even if I was going to finish this out as living space, I probably wouldn't do these kind of windows. But this is a pole barn on a budget. A little silicone, some screws, and that's it. They're windproof and weather tight. That's all that matters to me.
Step 2: Install the man door
Dry fit it first. If it fits and it's somewhat level, pull it out, put the adhesive down on the threshold and install it. The most important thing is to make sure your threshold is level. If it is, the rest of the door will play.
You could use silicone under the threshold, but I already have good fall from the barn to the porch, so I'd rather have liquid nails, something a little firmer. Put the door back in place, hold it closed, check for level again, and set it. Not too tight, just tight enough.
Look for the reveal. The reveal needs to be consistent all the way around. They give you about an eighth of an inch from the factory. A little gap at the bottom? Tighten that up with a shim. Then brick molding with the nail gun, all the way around.
Step 3: Lockset and deadbolt
The door handle matches the exterior doors on my house and my interior doors. It's a smart key latch, so I can program it to match my existing house key. A little trick with the screws: these always want to come loose, so put some thread locker on them and they'll never come loose again. I thought about a digital lock for the man door, but I've got the keypad for the garage door. Why waste the money?
Materials
- 9x9 insulated garage door with glass panels (front), 6x6 insulated garage door (back), installed by the pros
- LiftMaster myQ side mount garage door opener with battery backup
- 32 inch fiberglass man door, unfinished
- Vinyl-pane barn windows (6)
- 100% silicone
- Self-tapping screws
- Liquid nails for the threshold
- Shims, brick molding, weather stripping
- Lockset and deadbolt (smart key)
- Thread locker
Tools
- Drill/driver
- Caulk gun
- Nail gun
- Level
- Utility knife (cheap blades in bulk online)
What it cost
Well, there you go. We're dried in, weatherproof, and also now secured. The big question is, how much does all this cost?
- Garage doors and install: about $5,300
- Man door and hardware: just under $500 (the cost card in the video: $550)
- Windows (6): $2,200
- All in: about $8,000 (the card: $8,080, about 5 hours)
Not too bad considering the quality of the products I installed on the barn.
More from the pole barn build
28x32 Pole Barn Plans
The complete plan set from my real build. Two-bay layout, bookshelf girts, optional front and rear porches.