
Today we're installing eufy's S4 home security camera system. It promises the AI tracks anything that moves.
eufy sent me this.
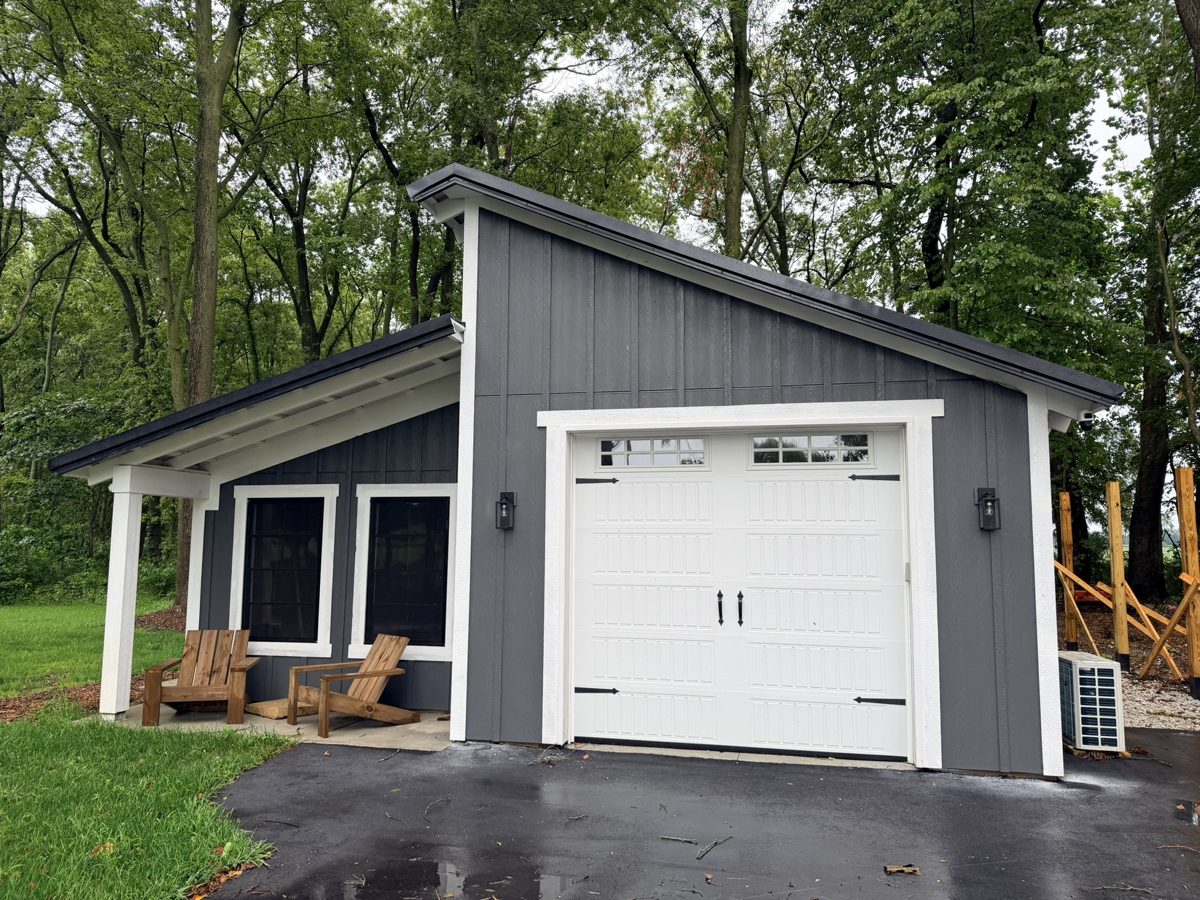
So, you've been watching the channel, you know about this DIY pole barn. The last video we sealed it all up by installing the doors and the windows (how I did the doors and windows). Remember a couple years ago I replaced my older security system with a new system. And with that said, it's time for some real security.
Building your own barn? My 28x32 pole barn plans ($24.99).
Why I Picked a PoE NVR System
The eufy S4 system in my pole barn. The quality, 4K. The technology, AI. It's an 8 channel, 2 terabyte NVR system, expandable to 16 terabytes.
That means all the video is recorded locally. No videos go to the cloud for anyone else to see. Super important to me. And the beauty of that is no subscription fees.
It's PoE, Power over Ethernet. That means you have to run wires. That's a good thing. It's more secure. It's more stable. And it's not going to bog down your Wi-Fi.
With all that said, let's get the cameras out. Let's mount those, run the wires, and hook up the NVR.
So, you haven't heard too much about eufy. They're a sub company of Anker. The battery packs, the C1000, the C2000s that I've done videos on (my off-grid power write-up). It's good stuff.
What Comes in the Box
No unboxing videos on this channel. Real quick, though, it comes with all the hardware you need, all the watertight connections. You've got four 60 ft runs of Ethernet cable, ends on both sides. And you got all the mounts for standard installation on anyone's house.
It comes with the standard fixed cameras, two of those. And then what you really pay for is the S4 cameras. Three lenses, movable on the bottom, stationary on top. Super smart. Has trackable AI inside.
Materials
- eufy S4 PoE NVR system: 8 channel NVR, 2 TB, expandable to 16 TB
- Optional upgrade: eufy S4 Max system, which comes with four of the PTZ cameras
- In the box: 2 standard fixed cameras, 2 S4 cameras, four 60 ft Ethernet cables, mounts and screws, waterproofing kits, NVR mouse, power cable, Ethernet cable and HDMI cable
- Internet for the NVR: I used a portable MiFi hotspot from AT&T until I run Ethernet from the house
Tools
- DeWalt driver for the mounting screws
- A monitor for setup (I took one off a computer in the basement)
- Your phone with the eufy app
- No fish tool needed: the framing was open, so I fed the Ethernet cable by hand
Step 1: Mount the Fixed Cameras
The first camera is a fixed camera. So all we're going to do is put the little bracket on and then we slide the camera over the top. On the ball itself, it has "up." Make sure it's up. Make sure you can swivel downward. And then all this does is fit over the top of it.
You see that hole in the center of the sticker? I want the cord to go through that. I'm going to hide the cord on the backside so the front of the barn looks good. Perfect. Right there. Snug. Like a little L bracket.
Slid right on there. And then all you got to do is... that lines up perfect. Got two screws. Screw it down. It's a good protected area, right?
Step 2: Waterproof the Ethernet Connections
Okay, put in these Ethernet cables. Get the waterproofing kit out. It's real simple. Got this little white gasket. It's got a cut in it. Slide it on the wire like that. And then this slides right on through here. We'll fish it through the wall.
So, how do you guys like the lights in the barn? Pretty cool. Pretty bright. Super bright. And they're powered by Anker's C2000. Both great products.
All you got to do is fish this through. Make the connection. Screw this on. It's all plug and play. It's pretty nice. Make that nice and tight. And then what we did inside, that little white gasket slides right in there like that. And then this goes over the top of that. Tightens it all up. Nice and waterproof.
Step 3: Run the Cables
So, it's the next day and I ran all the cables off camera just because there's a lot of different YouTube videos out there showing you how to run these.
I know it sucks running these cables. Honestly, there's a lot of benefits. One, you'll never have to worry about your cameras going dead and charging or replacing batteries, because the power and the data are all transmitted on the same wire. On top of that, you can stream multiple cameras at once at a higher quality than you can using Wi-Fi. And most importantly, it's not going to bog down your Wi-Fi for other devices in your home.
If you're serious about security, spend the time, run the Ethernet wires. If you don't want to do it, you can always hire someone to do it, or there's plenty of videos on YouTube to show you how to do it.
Step 4: Hook Up the NVR
I got my workbench over here. I grabbed a monitor from inside the house just for the fact you need to have one to set this up. Not a big deal.
I got the NVR, which I said is eight channels. It comes with its own mouse, a power cable, Ethernet cable, and an HDMI cable. So, here's all my camera cables right here on the side.
We'll start with the power. That's pretty simple. Let's plug in the TV set. HDMI. Once I get this all set up, I'll probably never use a monitor again on the system, because the app is supposed to work really good.
Let's add the cameras. We'll put them in the first four spots. Still got four spots left. That's a good thing. Plug the mouse into one of the USB slots in the back. Don't need a keyboard.
One last thing. I have to give it internet, right? I'm in a barn. I haven't run my Ethernet from my house. I got this little portable MiFi from AT&T. I'm going to use it out here until I run the wire from the house. It's real simple. It's got an Ethernet port in the back. Should give us internet and it should work well. Plug it into the LAN.
All right, there we go. We're up and running. Can you see it?
Step 5: Set Up the App
Once the NVR came online, I quickly did the setup, answered all my security questions, set a password, and I was good to go.
Then fire up the app. I've already set my account up in the app. Pretty simple. It says add device. NVR. I'm going to add it to my home. It says, "Make sure everything's connected." It is. I got three blue lights. I guess that's good. They're not red. Connect your phone to the same Wi-Fi. Wait for the front indicator light to turn blue. They already are blue. Scan the QR code. When the NVR beeps, push the red button behind there. Synchronizing. NVR added. That's how simple it is. You do that with all their products.
If you have another NVR, if you have Wi-Fi cameras, you have a baby monitor camera, anything they sell in their ecosystem, you can put on the app. It's all one app. It's beautiful. We'll launch it. And we're live. Look at that. That's what I'm talking about. They're already up and running.
Step 6: Adjust the Cameras
The first thing we're going to do is adjust this 4K camera downward a little bit. It's fixed and it won't move, but it's got a wide range, like 122 degrees right and left.
The bottom one, we have two 2K cameras. That's the PTZ: pan, tilt, zoom. It can pan 360 degrees. It can tilt up and down. And it can zoom three times, or eight times hybrid. Super powerful camera. I don't think there's another camera like that on the market, at least at that price point.
So, this one kind of boring really. It just has a fixed camera. We'll drop it down a little bit. You can either look at the screen as you do this, or you can just look at the app and make sure you have the right angle.
The Settings I Use
Got lots of options with the system. The interface is super easy.
- Recording: You can decide when you want to record: all the time, on a schedule, or no recording. You have the option to record faces, humans, vehicles, and pets. You can turn them on, you can turn them off, whatever you want. You can talk to them, you can listen to them, and you can record all of it.
- Faces: You can actually see and change unknown faces to known. For example, there's my head. I can change it to not a stranger, but now a family member. Unknown to familiar. No alarms. Love that.
- Deterrents: Whenever a camera sees something, you have two options to scare them off. You have a siren and you also have lights. Regular white blinking light, or my favorite, blue and red, for obvious reasons.
- Night vision: You got three options. Street light: that means it uses whatever light is available, and it records either black and white or color depending on how much light it has. Spotlight: when it sees something, it actually turns on a spotlight that makes it color. And then you got infrared: basically black and white images only, but no one knows it's recording.
- Patrol: What I really like is the patrol. That's my default. And then I'm going to set additional locations the opposite way. And while it's doing that scan, if it sees anything, it's going to stop, zoom in, and track and record. Got to love that. You can only do it on the S4 movable cameras.
The nice thing about the eufy system is all the AI is processed locally. Nothing goes to the cloud unless I want it to go there. Like I told you, that also means no monthly fees like I've had before.
Testing It
Let's see how fast it picks me up and how fast the notification is to my phone. It's picking me up right now. It's got me. There it is. About 5 seconds. See it following me around. They're outside cameras, so of course they're IP65, water resistant.
You want to see one of the best parts that makes this AI super powerful? In the past, you've had to search frame by frame trying to find what you're looking for. You type in what you're looking for. It looks like a man with a shovel. Well, it's actually me with a shovel. Or "gray SUV." Look at this. It's incredible. So easy.
When someone's detected on the fixed cameras, the PTZ cameras automatically start rotating to that target, using the optical zoom up to eight times hybrid. These cameras are super quiet, too. You don't hear the thing rotating. If that's not security, what is?
What It Cost
Wow. What can you say, right? All the bells and whistles. Totally impressed with the system. The big question is, how much did it cost and how long did it take?
- eufy S4 system: about $1,000
- S4 Max upgrade (four PTZ cameras): about $1,300
- Time: about 3 hours
I think it's great.
More From the Pole Barn
If you like this, make sure you're subscribed on YouTube. Take care. I'll see you next time.
28x32 Pole Barn Plans
The complete plan set from my real build. Two-bay layout, bookshelf girts, optional front and rear porches.