
Eight tons of concrete. One shot to get it right. Once it starts setting, there's no do-over. I watched from the sidelines last time. Not this time. I'm in the mud.
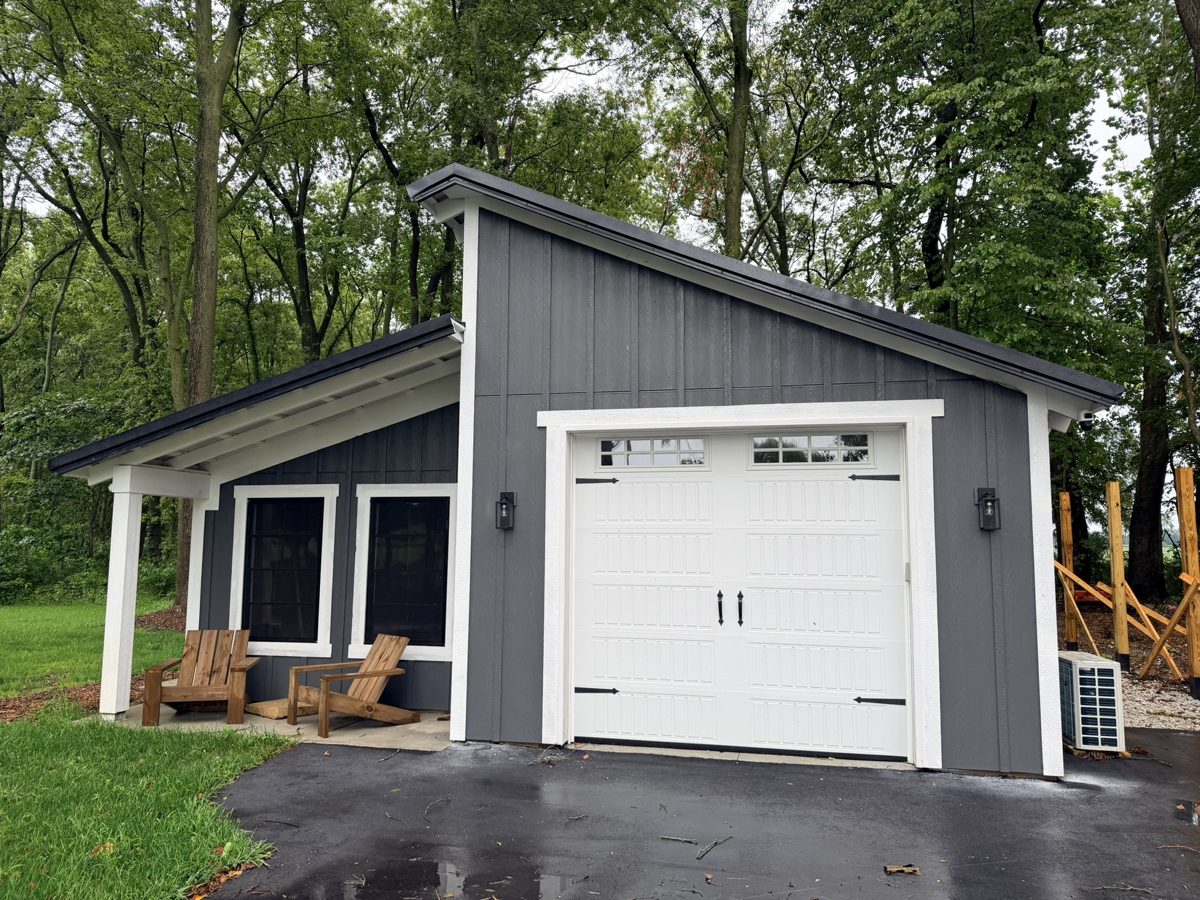
If you saw my last video, we put a metal roof on my lean-to. Now, it's time to put the floor in it. Pouring a 10x24 floor and then we're going to have a 6x10 apron off the back. I got a buddy running the show. I'm going to be his helper.
We're going to go four inches thick, get it placed, screed it flat, and make it smooth before it all sets up on us.
Final cost
Start to finish about 6 hours. What it cost me, I'm all in, $2,800. That's concrete, labor, finishing, saw cuts, sealing, all that good stuff. Pretty good deal.
- Concrete, labor, finishing, saw cuts and sealing: $2,800
- Gravel: $200
- All in: $3,000
Materials
- About 8 tons of 4,000 concrete with fiber, plus an extra half yard
- A little accelerator in the mix
- Gravel base, compacted, 4 inches below the top of the barn slab
- Forms
- Sealer (the day after the pour)
Tools
- Huepar rotary laser and the grade stick
- Compactor
- Screed
- Bull float
- Edger
- Broom
- Finishing trowel
- Concrete saw for the control joints (the day after the pour)
Setting the grade with the Huepar rotary laser
Before we pour any concrete, we had to figure out a few things. My slab on my barn is about 4 inches. I want to make sure that I'm 4 inches below the top of the slab with gravel from this point all the way to that point.
All we got to do is use our Huepar laser, our rotary laser. Great tool for this. It's actually a great tool for any kind of grade work. We'll simply just put the stick on the gravel that looks like it's right about bottom of the concrete slab. Make sure we hear a constant beep like that.
Every time we hear that constant beep or a beep in general, you're in the zip code. And on the back of here, it tells you exactly if you're high or low. Tad bit high right now because we're getting ready to put a compactor on it. As long as you get a tone, probably close enough.
You can see our line for concrete is right below the seam between the two tongue and groove 2 by sixes. It should give Stan and I a good idea of making sure that the slab is level from coming off the barn all the way to the other side of the lean-to and out the back.
The most important thing, in my words: make sure the grade around the slab is correct so water runs away from the slab. That's the most important thing, and it's done well before the concrete.
Forms and pour morning
He's wanting to set the forms up today. And then we're going to pour first thing in the morning tomorrow at 8:00 a.m. Everything's set up and ready to go for the morning.
We have to remove some of these 2 by sixes in the front so the chute of the concrete mixer can actually get inside the barn. And we're going to start with the rear, the skirt first, and work our way out towards the front.
I don't have concrete boots, so we're making some to protect my feet. I look like a clown, but it'll work. I didn't want to go out and spend money on concrete boots for maybe one pour.
Eight tons of concrete
This is what eight tons of concrete looks like. What kind of concrete is this? 4,000. Any fiber in it? Yeah.
Not too bad. Not as heavy as I thought it would be. A little stiff coming out. It's pretty heavy, though. Not as hard as it looks on TV.
Why fiber and no vapor barrier
I know a lot of you guys had questions in the first concrete video about why I didn't put fencing down on my floor. Couple different reasons. One, I used fiber in this, which is a similar product. All it does is keep the cracks so they stay level with each other. Concrete's going to crack no matter what you use. How it reacts to the crack, that's where fiber and fencing comes in.
When it comes to the vapor barrier, yeah, I could have easily laid one down. I've already got a dehumidifier in the barn. There's no reason to put plastic underneath when you have a dehumidifier.
Why I didn't pour the floor first
In the first video, a lot of people asked the question, why didn't you just pour the floor first? It's real simple. Pole barns are designed to be inexpensive, and that's because you put the poles in the ground with concrete.
Everybody said you should put the poles on top of the concrete. That sounds great, right? But what they don't know is you have to put a footer underneath that concrete or your slab will actually tilt and your barn will fall over. It requires footers. In Indiana, it's 3 foot deep footers. Then you can pour the slab on top and then put the post on top of all that. That's going to triple, quadruple your price for a foundation on a pole barn.
Placing and screeding
We used most of it up. Glad I got that extra half yard. I don't think we would have made it. That means my grade was off a little bit then. You'd rather have too much than not enough, right?
Bull floating
It floats. It just brings that cream up. When you go forward, you tilt the back. Put a little bit of pressure, and when you come back, you do the opposite. Just go real slow. Little pressure.
You pretty much bull float right after you get it down to get that cream up. Well, it's a lot easier than I did before. Not too bad.
Halftime
Okay, halftime. We got her all down and we tooled it and bull floated it. Did some edging around the skirt area. Kind of waiting for it to dry now. It's kind of damp and cool out, so it may take a while. He said 4 hours before you can get on it. It's been about 3 hours now.
Edging
Just put her like right there and then you just pull back slowly. Straight back. Just a little pressure. You can kind of feel it. Just try to stay as straight as you can.
Broom finish
The broom's the hard part. A little wavy. Yours were better for sure. More you do it, the more you figure it out. I can see if you do this all the time how much better you can get at it with practice.
I want a kind of a rough surface, not a finished slick surface. I don't want to be sliding all over the place. Playing games with the weather. It's wet, a little cold, windy, and the leaves and debris are all getting on it, but they're picking it out as they go.
They told me my job's over here. Cleaning tools is the most important job, right? Everybody's got a purpose on a team.
Second finish pass
About 5 and a half hours since we poured the concrete, and they're on it for the second time now. It's funny. On the original pole barn build, if you remember that, they did the concrete in there. They only did one pass and it showed. They're doing a second pass. Make sure it looks nice and neat.
They still have to come back tomorrow. They're going to saw cut some control joints in there, and he's also going to seal the top of it with a sealer.
So, is pouring concrete really that hard?
Here's my take. For a small sidewalk or pad or shed, yeah, I think you can knock it out with a couple buddies and be perfectly fine. But anything this size, or maybe the pole barn size, get someone that's done it before. You learn a lot from the pros, and it'll save you a little money if you give them a hand, like it probably did in this case.
More from the pole barn build
28x32 Pole Barn Plans
The complete plan set from my real build. Two-bay layout, bookshelf girts, optional front and rear porches.