
Today we're adding finishing details to our roof system. Custom rafter tails and overhangs. If you didn't know, I'm building a pole barn on my property. I've already put out several videos. If you want to see how I got to this point, go back and look at those videos.
Plans for my pole barn: Pole Barn 28x32 plans
Why overhangs and rafter tails
These two things serve two purposes. One, it's going to protect the barn from the elements, the snow, the rain coming off the roof. Two, it's aesthetics. It's going to look phenomenal.
Some pole barns don't have overhangs. I hate that look. Not on this building. This is where all the detail comes in and the customization of a great looking barn.
Materials
- 2x10 for the backer
- 2x8 for the rafter tails (I had the rafter tails that were cut off from the original rafters)
- 3 inch deck screws (to temporarily tack it in)
- 1/4 inch x 3 inch power lags
- Boards for the sections: a 10 footer, a 12 footer and a 10 footer for 32 feet
- 2x6 for the fascia board
- 2x8s (a couple on edge as blocks, one at the peak to center the miter)
- Nails for the nail gun
- Coming with the roof: a 6 inch steel cap over the ridge line
Tools
- DeWalt table saw, plugged into an Anker SOLIX
- Circular saw
- Handsaw
- Nail gun
- Drill/driver for the screws and power lags
- Angle gauge
- String line
- Clamp
- A block cut to 19 3/4 inches for spacing
- ChatGPT, for figuring out the layout
Step 1: Set the design and the overhang
I did a little sample on both sides. I'm using 2x10 material as a backer and then 2x8 material for the rafter tail. It's big. It's bulky, but it's going to look great.
The roof here is 5/12. That's 4/12. So, it's a little bit more difficult for the fact that my rafter tails on one side will be shorter than the other side. The most important part is I want my overhang over there to be the same distance out as the overhang over here. All I did was measure out here to the tip. It's 13 inches here. It's 13 inches over there.
Now, the reason why I didn't just extend the rafters: all my rafters, as much as possible, are 24 on center. These will be 21 1/4 on center. So, it's going to give me more detail and most importantly, it's going to be unified from front to back. I told you this barn wasn't going to be like everybody else's.
Here's the short side, 14 3/8. And here's the tall side, 15 1/4. A little bit different in size, but like I said, the pitch will make both these tips on both sides 13 inches away from the barn. The way it stands, it'll be 12 inches once we put all the siding on.
Step 2: Cut the rafter tails
Real simple. I always cut the angle first, which is 18 1/2, which is right there. I'm using a DeWalt table saw plugged into an Anker SOLIX. Great little tool for the field. Works great. Plenty of power to get me through this project.
And then the straight cut. Got a little block right there to keep the tip there. And that should give me my measurement instead of marking with pencil. There you go. 18 more. Got a ton of scrap though.
Step 3: Fasten the tails to the 2x10 backer
Here's my 2x10. Here's the 2x8 rafter tail I just cut. I'm going to do this upside down because I want the tip at the very top of the 2x10.
I've got these 3 inch deck screws. I'm going to use it to just temporarily tack it in. And then I'm using these 1/4 inch 3 inch power lags. It'll really suck it up. That tacked it right. We're going to drive these monsters in.
Step 4: Space them 21 1/4 on center
I got this block. It's 19 3/4. All I'm going to do is slide it in here like that. My first one should be at 1 foot 10 inches. Just like that. It's right on the money. Then all I'm doing is holding it tight. That'll keep me nice and straight and plumb to the board.
Then 3 foot 7 1/4, 5 foot 4 1/2, 7 foot 1 3/4, 8 foot 11, and then next board.
It's a big important step, making sure these are all spaced out right. ChatGPT was perfect for this. I was getting confused on how to set it up because my building's 32 on the nose. I'm doing a 10 footer, a 12 footer, and a 10 footer for 32 feet. See, it's got an extra 1/2 inch right there. So, I'm going to take that 1/2 inch off.
This isn't your farm barn. This is all custom built, straight from the heart, with free DIY labor.
This one's supposed to go here, but I'm going to wait until I get the other two up. I'm going to do a final measurement, make sure this is cut exact, and then we'll mount this somewhere in there, wherever it sits at. If it's off a quarter of an inch or whatever, no one's going to know the difference. But extremely sturdy. I'm not concerned about them falling off or anything like that. Especially when I get them all caulked up and painted, they're going to look beautiful.
Step 5: Hang the sections
I've got a block down there. Hopefully, it'll hold. I just got it into the OSB with a couple screws. It should have been in the header, but I didn't make a great jig. See right here? I want to be almost level with that, which I'm really close.
I ran a line all the way down there, both front and back, to get this in the ballpark of the rest of the pitch of my roof. Let's get the next section up.
I got kind of lucky on that one. I think I got 119 for the measurement. So, off an inch. So, we'll move that over just a tad, but you'll never know the difference. Let's put that last wing on. I'm right on the money down here. I don't get no better than that. It looks really good down through there.
Remember that overhang block from a couple videos ago? That way all these are the same. Let me get the circular saw. We'll just go and cut that now while we're up here. Just eyeballing it, it looks right on the money. I got no humps, no lumps.
Same thing on the other two sides I got left to do. A 10 footer, a 12 footer, and another 10 footer. We'll leave that last little rafter off and measure the last one, make sure she fits nice and tight, and that's the end of it.
I think the upper one's going to be easier of the two for the fact I'll be only four foot off the ground. And everything lines up to the peak. The measurements are right on top. The top of these go to the top of this. So simple.
It's going to be really cool having those hang down and having those windows up there. It's going to have like an industrial type look.
I know a lot of you guys probably aren't building pole barns on your property, but I am covering a lot of techniques that I use to build stuff in general that you can get value from.
Day two's in the book. It's getting dark. I need to get tools put away. But I got the top up. Got the side up. I got that side over there ready to go up. I'm happy with the way it's turning out, so I can't complain too much.
Step 6: Put the purlin boards on
Next day. We're going to put the purlin one up here, one down here. This one's on the edge. This one's 4 inches down, just like this one over here on the other side. But what's most important right now is making sure that this block is lined up properly. That way my overhang from here to here is the same. Double check the measurement. Right on the money.
These may have a little bit of a bow in them. So I want to make sure I get the bow out before I nail them. Then right here, I want to saw that off. I want my next board to be on a seam.
I'll tell you, a little handsaw. I didn't like it at first doing that siding on the last video, but it's growing on me a little bit. I can see definitely a need for it.
A steel cap goes over the ridge line here. So, it's just a matter of making sure they're equal on both sides. It's a 6 inch cap, so it should have plenty of nail room.
The nice thing about this side is the OSB is lower than the rafter tail up there already. So, all I did is put a couple of 2x8s up there on edge. Screwed them to the rafters and I was butted up there against them. It's just like the process over there on the other side.
Last section, I measured the building. It's 119. So I got to take off about an inch down here, which is totally expected. You'll never know the difference.
We just got to put that last rafter tail on. We'll be good to go. Final step. Just got to put the purlin on there now. Just going to use a nail gun. Should be an easy task here. My legs have gotten a lot stronger since I started this project. I think at least they feel like it.
Step 7: Install the 2x6 fascia board
Next day, the fascia board, the front board, if you want to call it that. I got to have someone hold this in. 2x6 we're using for the fascia board. Should go on pretty easy. These are straight cuts, so it should be real simple.
All we're going to do is make sure the top of my 2x6 is flush with the top of the purlin board, which it is. So we'll go about right here in the middle, fasten it there, and then work our way towards the end.
This is the part that makes the barn look pretty nice. Gives you a nice overhang, too. Now I'm going to double tap screw every one of those. Make sure this thing doesn't fall off. And then we'll cap the ends.
I need a block that's almost 4 inches. Yeah, it's 4 inches and 12 1/2. Hope it fits. Bingo. Then the top one. Same process. Pretty simple.
Step 8: Miter the fascia at the peak
I'm at the peak. What I did is I just brought a 2x8 up here and put it dead center on the ridge line. That way I know exactly where my miter is going to meet up. I'll make a center mark on this so I know exactly where to put the small piece. Then we'll put the big piece up and butt them up.
I used my angle gauge and it gave me about a 24 degree angle going up, which I think is pretty close to 5/12. Just take my word for it. I did the same thing over here. It's almost 23.8. So we'll go with 24. That would be the miter. When I end up painting the building, there may be a little crack, or may not be. I don't know.
Then all I'm going to do is line this angle with the mark I put on the 2x8, making sure the top of it is flush with my purlin.
I ran to the garage and cut that 24 degree angle on this board to make it nice and clean. It's the exact same angle I cut the other board with. Make sure it's tight up against the tip. It's about the best I could do. Front matters more.
From down here, that crack doesn't look bad at all. It's one of those things, you know, you want to make sure it's right. The purlins look pretty good. I might need the clamp to help me get them all nice and straight, but pretty happy with it.
So, I'm just going to screw the fascia board, the 2x6, to all the purlins up there. Two screws in each one. Let's block the ends. We'll be done with this side.
The result
This side's completely done. So, what do you think? Do we have detail now or what? I love it. Lots of detail. Boy, it really pops.
Cost
Big question is how much it cost. Not bad. Since I had the rafter tails that were cut off from the original rafters, wasn't that much work. Didn't cost a lot of money and it looks phenomenal.
Final cost: $223.
Time: 7 hours.
What's next
That ends the framing portion of the barn. Next up is the roof, and I'm likely going to call the pros on that one. I'll bring you along as I learn something, and hopefully you'll learn something, too.
Get the plans
More from the pole barn build
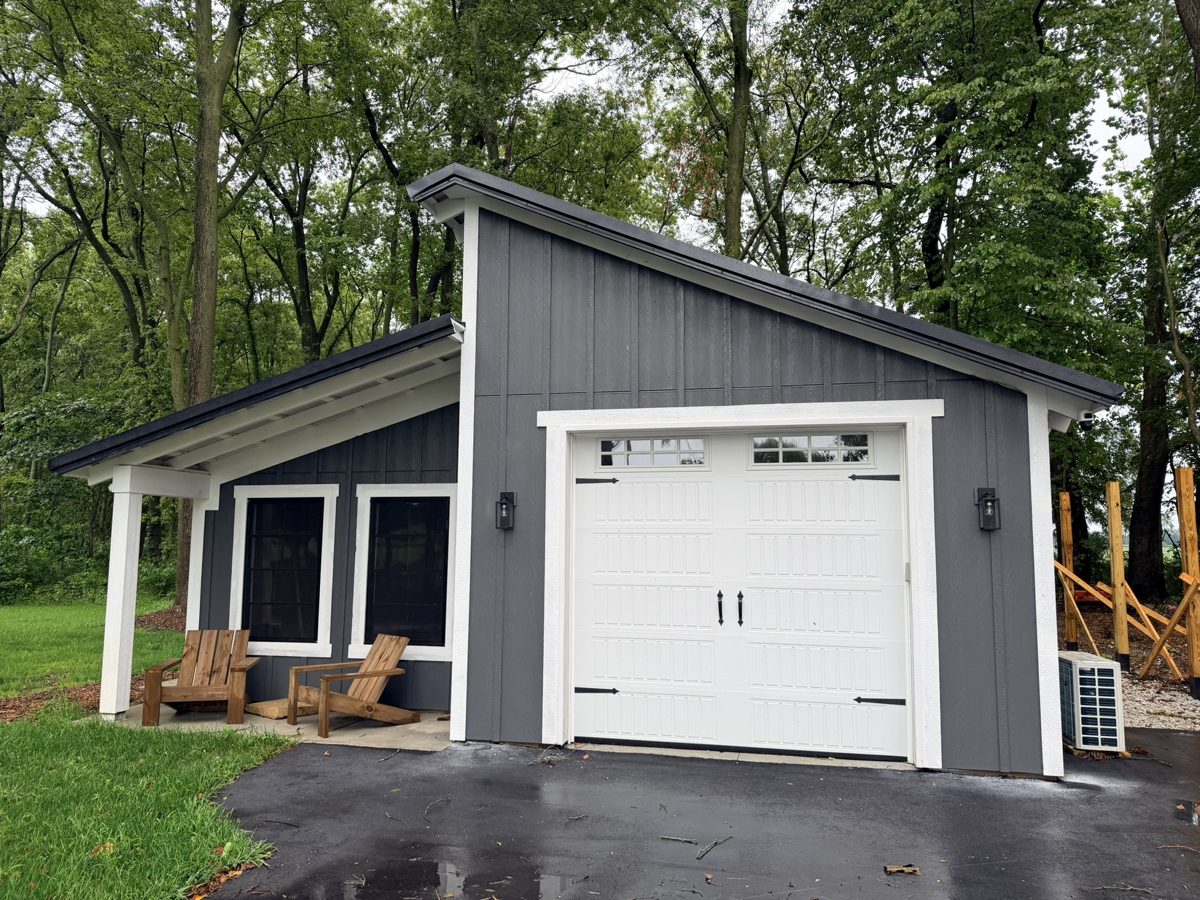
28x32 Pole Barn Plans
The complete plan set from my real build. Two-bay layout, bookshelf girts, optional front and rear porches.